Table of Contents
ToggleThe world is moving towards clean energy. And one of the most pristine and abundant one accessible to everyone is from the sun. Even though a full-fledged solar panel requires a hefty cost which can be beyond a middle-class family, all of us can build a portable solar generator that costs below $500.
If you delve into the commercial solar power generators, most of them make lofty claims but fall flat when tested. So we looked into the prices of the components you will need for making one for yourself. And boy, it was pleasantly surprising.
In this article, we help you build a DIY solar generator below $500.
What is a solar generator?
Fossil fuel is rapidly exhausting, and the shift to the clean energy sources will require different equipment. One of them is a solar generator. It doesn’t connect to the utility grid, wastes no fuel, and makes no noise at all. It helps users to harness the energy of the sun for powering their household items (in most cases) and saving a part of their electricity costs.
Why prefer a DIY solar generator?
Here are the reasons why you should ignore readymade solar generators and build one for yourself –
1. They are safer than gas generators
Solar energy is the cleanest form of power on earth, and there are no arguments there. Any of the natural energy sources are preferable over the fossil fuels that cause harm to the environment.
Using solar generators reduces the chance of any hazard that can cause inconvenience to you and your family. Unlike other gas-based equipment which can expose you to harmful radiation, these are much safer for you and the environment alike.
2. DIY solar generators last longer
Solar generators require only a handful of components, most of which are long-lasting. Even if you manage to bork it somehow, you know how to fix your DIY product, which may not be the case with other products. So a DIY solar generator is likely to last longer than most other similar energy-generating equipment. Even otherwise, a well-made solar generator lasts 20 years or more with minimum maintenance.
3. Readymade solar generators are underwhelming
In our experience with readymade solar generators, we found them underwhelming. Most of them could not sustain peak capacity after 30 minutes of usage and had too little power to make them desirable. When we looked for higher capacity ones, the prices went too high for us to suggest them.
4. They give you the leeway to choose the components you desire
One desirable thing about DIY is flexibility. You can choose what to use and from where you want to source it. Not only that, there are chances of it offering more than a readymade product at the same price point. So you can spare a bit of labour for saving a few hundred to thousands of dollars. Also, you can now swap the damaged part yourself instead of paying a mechanic a few hundred dollars for the same.
How much energy do you need?
To understand the amount of energy you require, you will first have to figure out the source for which you will use the solar power generator. Most people use it for their homes, so you can look into your electricity bill to get a rough idea, or you can refer to the chart here to note the major ones–
- Fridge (Medium) – 1200W to 1500W
- Toaster – 1200W
- Coffee dispenser – 1000W
- TV – 100W to 150W
- Laptop – Below 100W
- PC – 100W
- Fan – 10W to 50W
- Cable box – 35W
These are the equipment that requires the most energy. Using this list, you can now curate a rough idea of how much energy you want to draw from the grid and then create the requisite ingredient requirement.
Steps to build a large solar generator
Solar panels were once bulky and expensive. With the improvements in the technology field, size and costs have shrunk. It allows more people to harness the cleanest and the most abundant energy source on the earth. Plus, it produces no pollutants, and the equipment has a generous lifespan.
For your DIY solar generator, here are the items that you need to procure –
- Solar Panel Battery
- Solar Panel
- Solar Charger Controller
- Switch
- 12v USB module
- A hard case for storing the parts
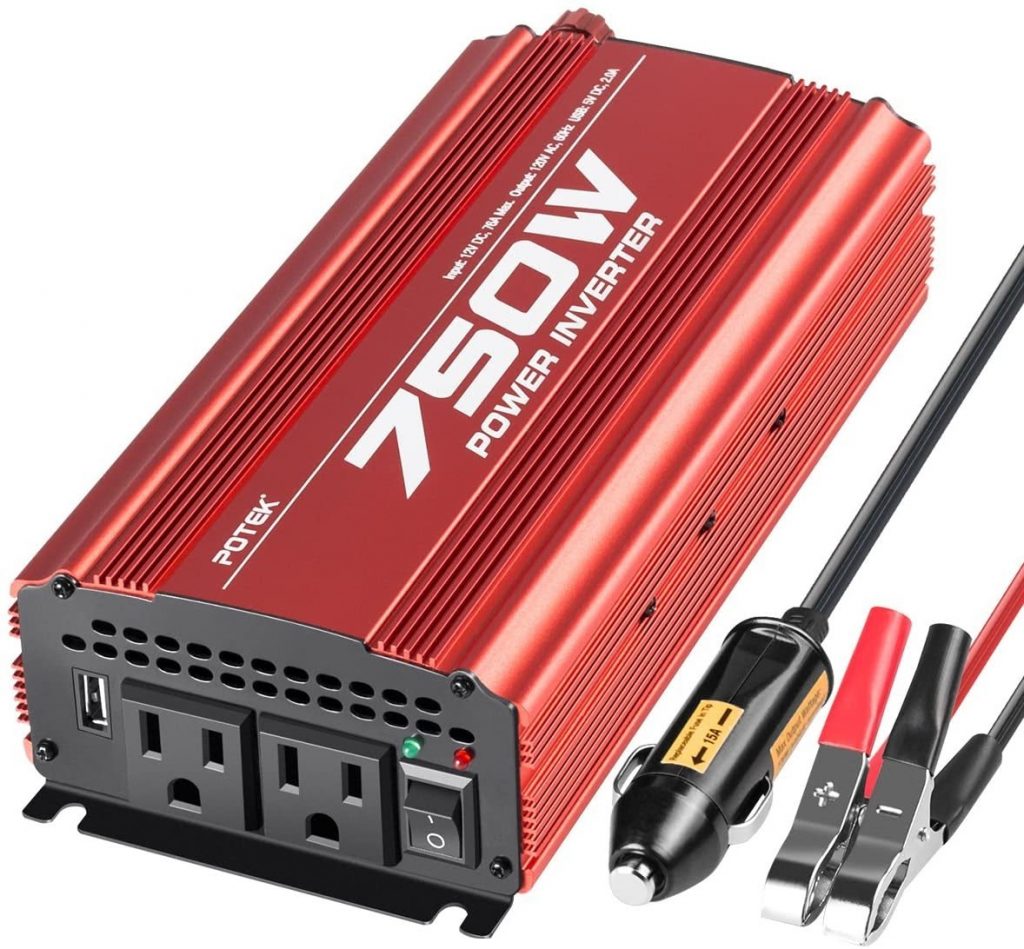
- Inverter (optional)
Most of them are available locally or on Amazon.
Now that you have collected all of them let’s get into the act –
1. Ascertaining the battery capacity


Since you know the total wattage in play, you will then have to calculate the running wattage, i.e. the average wattage per hour. Multiply the number by eight hours (your goal to cover) to understand your intermediate daily needs.
Most cells are listed in 10v30ah form. It means that the total watt capacity, in this case, is 10 Voltage x 30 Amperage = 300W. Divide the total you get by eight to understand the watts per hour.
There is one catch, though. Most manufacturers list 100 % of the battery capacity, but if you want to optimize your usage, you cannot discharge them over a specific limit (especially lead-acid ones). So, you must add a buffer to get the actual usable power.
2. Fitting it all in the box


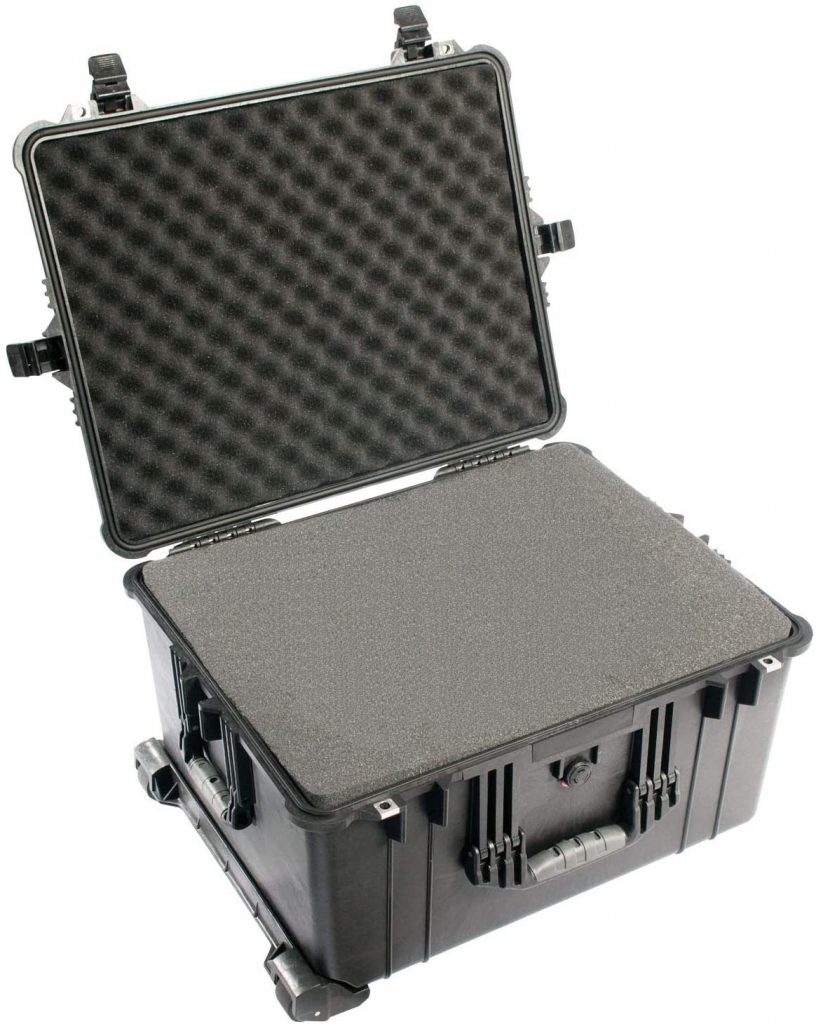
Gather all the parts together. Grab a plastic layout case (we suggest Rugged Pelican Case 1620) that can accommodate all the components and hold them tight. If one or two elements don’t fit, you may have to make cuts in the enclosure to ensure that they do. Ensure that the fitting will aid wiring and ensure easy cable management for future use.
3. Wiring it all together
After fitting everything in the case, it is time to refer to the manual that may have come with the controller for wiring. Here is all that you have to do –
- Connect the ‘+’ and ‘–‘ of the battery to your controller.
- Attach the ‘+’ and ‘-‘ of the solar panel to the connector.
- Connect the ‘+’ and ‘–‘ of the USB module to the battery and with a switch in between
- Finish the wiring by loading the controller with two wires


If you want to attach an inverter to the pack, you can use a prong male plug and an additional wire to connect the controller to it.
4. Fitting the solar panels and the connections
The way you handle the solar panel and fix it to the rest of the package is the most critical aspect. Make sure to take the weather conditions into account. If you live in a moderately warm place, you can be nonchalant and fit the solar panel as you deem fit.
Those living in hot areas ensure that the design is commensurate with the need to keep it outdoors or in the shade. You can glue a pair of metal bands to the back of the panel to accommodate the excess wiring conveniently. Then use glue to attach the metal holders of the solar panel to the case.
The last step is to pass the wire through the back and attach it to the solar panel. Your DIY solar generator is ready and raring to go.
5. Look after the sundries
After setting up your DIY solar generator, some ancillaries can be bothersome if you ignore them. The first would be the distance between the panel and the charge controller should be minimum. Same is the case with the battery and the charge controller.
People often try to use an inverter anyway, which is not how it should be. They result in batteries wearing out faster than usual. Also, these systems are prone to losing power in every step, and you must be careful about how you build to ensure a minimum loss.
Also, there are three types of batteries, each of which has specific characteristics. So you should know your preference and buy stuff according to that.
Wrap up
In today’s article, we covered the making of a cheap DIY solar generator. It may seem a daunting task in hindsight but is quite the opposite when you sit to make one for yourself. We often form a misconception and fail to try certain things. If you are one of those too, it is time that you push yourself towards making your first DIY solar generator today.


